How to Test Your Express API with SuperTest
Express is the most popular Node.js framework for building web applications, especially REST APIs. And in this article, I’m going to show you how you can test your API endpoints with a cool library called SuperTest.
SuperTest is an HTTP assertions library that allows you to test your Node.js HTTP servers. It is built on top of SuperAgent library, wich is an HTTP client for Node.js.
Getting Started
The best way to learn how to write tests is by testing an existing app. So, in this tutorial we’re going to use the blog REST API I built using Express and Mongoose which you can read more in this article. You can clone the repo onto your computer using the command below.
$ git clone https://github.com/rahmanfadhil/learn-express-mongoose.git
Here’s our project stucture.
├── README.md
├── index.js
├── models
│   └── Post.js
├── package-lock.json
├── package.json
└── routes.js
Basically, we have an index.js, the main code that will fire up our HTTP server. Then, we have a models folder that contains our Mongoose model which allows us to fetch and modify data from our MongoDB database. Finally, we have routes.js which contains our API routes to perform CRUD to our models.
If you just want to see the final result, checkout this repo instead.
Setting up Jest
Now we have a simple project waiting to get tested. Let’s install some dependencies for our testing environment. First, we need a testing framework. It’s tool that allows us to execute automated test code and see the result.
In this tutorial, we are going to use Jest. Which is by far the easiest testing framework for JavaScript I’ve ever used.
So, let’s install Jest and SuperTest.
$ npm install --save-dev jest supertest
Once the packages are installed, we need to setup a test command in our package.json file.
{
	// ...
	"scripts": {
		"test": "jest"
	}
	// ...
}
Next, we need to tell Jest that we’re only running our tests in Node.js environment. This will disable Jest’s JSDom in our tests, which we don’t need since we’re building a server.
module.exports = {
	testEnvironment: "node",
}
Test preparation
Before we write some tests, we need to make a helper function that lets us create our Express instance without starting it up.
Create a new file called server.js.
const express = require("express")
const routes = require("./routes")

function createServer() {
	const app = express()
	app.use(express.json())
	app.use("/api", routes)
	return app
}

module.exports = createServer
Here, we’re basically copy-and-pasting from index.js, the part where we initialize and configure our server instance.
Now, we need to make some adjustments in our index.js.
const express = require("express")
const mongoose = require("mongoose")
const createServer = require("./server") // new

mongoose
	.connect("mongodb://localhost:27017/acmedb", { useNewUrlParser: true })
	.then(() => {
		const app = createServer() // new
		app.listen(5000, () => {
			console.log("Server has started!")
		})
	})
Now, we can write our first test by creating a new JavaScript test file. By default, Jest will lookup for files that match *.test.js. So, let’s add server.test.js to our project.
const mongoose = require("mongoose")
const createServer = require("./server")

beforeEach((done) => {
	mongoose.connect(
		"mongodb://localhost:27017/acmedb",
		{ useNewUrlParser: true },
		() => done()
	)
})

afterEach((done) => {
	mongoose.connection.db.dropDatabase(() => {
		mongoose.connection.close(() => done())
	})
})

const app = createServer()
Typically, we want to add a setup and teardown functions for our tests. Those are functions that will be invoked before and after every single test cases. This allows us to connect to MongoDB and remove all the data once a test case is finished.
We also want to initialize our Express server in app variable which will be accessible from our test case.
Testing routes
Let’s create a new test case called GET /api/users.
const mongoose = require("mongoose")
const createServer = require("./server")
const Post = require("./models/Post") // new

// ...

test("GET /posts", async () => {
	const post = await Post.create({
		title: "Post 1",
		content: "Lorem ipsum",
	})

	await supertest(app)
		.get("/api/posts")
		.expect(200)
		.then((response) => {
			// Check the response type and length
			expect(Array.isArray(response.body)).toBeTruthy()
			expect(response.body.length).toEqual(1)

			// Check the response data
			expect(response.body[0]._id).toBe(post.id)
			expect(response.body[0].title).toBe(post.title)
			expect(response.body[0].content).toBe(post.content)
		})
})
Here, we’re adding a new document to our database so that we won’t get an empty response. Then, we send a GET request using SuperTest to the /api/posts endpoint and expect the response status to be 200, which means success. Finally, we check if the response matches the data in the database.
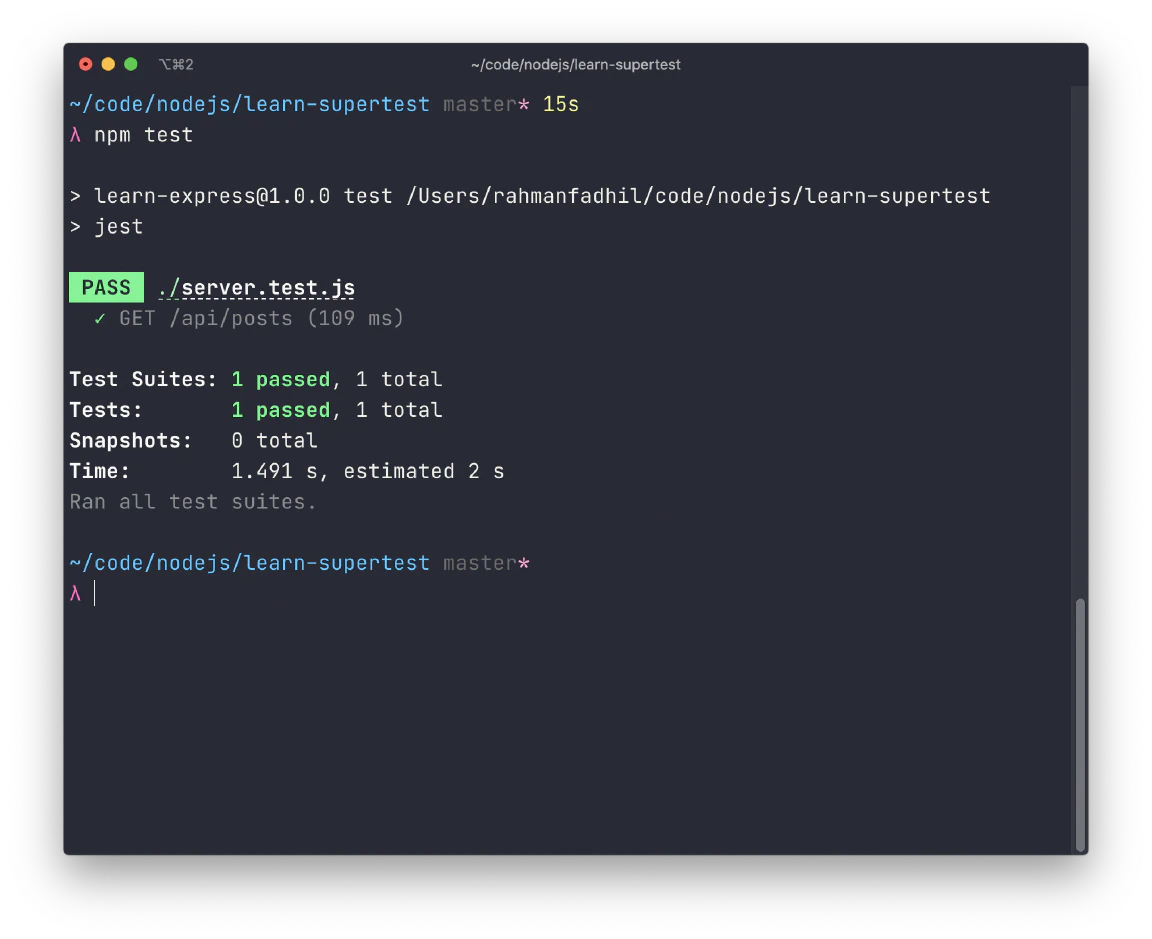
We can now run our tests by running npm test or npm run test.

Now, let’s test the get single post feature.
// ...

test("GET /api/posts/:id", async () => {
	const post = await Post.create({
		title: "Post 1",
		content: "Lorem ipsum",
	})

	await supertest(app)
		.get("/api/posts/" + post.id)
		.expect(200)
		.then((response) => {
			expect(response.body._id).toBe(post.id)
			expect(response.body.title).toBe(post.title)
			expect(response.body.content).toBe(post.content)
		})
})
Just like the previous one, we’re also adding a new post data to the database, make a request to the server, and assert the response. But here, we’re using the post ID in the URL parameter to get that specific post.
Let’s move on to the create post functionality.
// ...

test("POST /api/posts", async () => {
	const data = {
		title: "Post 1",
		content: "Lorem ipsum",
	}

	await supertest(app)
		.post("/api/posts")
		.send(data)
		.expect(200)
		.then(async (response) => {
			// Check the response
			expect(response.body._id).toBeTruthy()
			expect(response.body.title).toBe(data.title)
			expect(response.body.content).toBe(data.content)

			// Check the data in the database
			const post = await Post.findOne({ _id: response.body._id })
			expect(post).toBeTruthy()
			expect(post.title).toBe(data.title)
			expect(post.content).toBe(data.content)
		})
})
In this test, we make a POST request to /api/posts endpoint and send our post data. Then, we expect the response status to be successful and check if the data is added to the database.
We’re almost there! Now it’s time to write a test case for the update post route.
// ...

test("PATCH /api/posts/:id", async () => {
	const post = await Post.create({
		title: "Post 1",
		content: "Lorem ipsum",
	})

	const data = {
		title: "New title",
		content: "dolor sit amet",
	}

	await supertest(app)
		.patch("/api/posts/" + post.id)
		.send(data)
		.expect(200)
		.then(async (response) => {
			// Check the response
			expect(response.body._id).toBe(post.id)
			expect(response.body.title).toBe(data.title)
			expect(response.body.content).toBe(data.content)

			// Check the data in the database
			const newPost = await Post.findOne({ _id: response.body._id })
			expect(newPost).toBeTruthy()
			expect(newPost.title).toBe(data.title)
			expect(newPost.content).toBe(data.content)
		})
})
First, we add a new post to the database. Then, we make a PATCH request to the update post endpoint and send our post data. Once we got a response from the server, we can assert them and check if the data in the database is updated.
Finally, let’s add a test case for the delete post route.
// ...

test("DELETE /api/posts/:id", async () => {
	const post = await Post.create({
		title: "Post 1",
		content: "Lorem ipsum",
	})

	await supertest(app)
		.delete("/api/posts/" + post.id)
		.expect(204)
		.then(async () => {
			expect(await Post.findOne({ _id: post.id })).toBeFalsy()
		})
})
The delete post test is pretty straightforward. We first add a new post to the database. Then, we make a DELETE request to the single post endpoint, which we get from the post ID. Finally, we check if the post is deleted from the database.
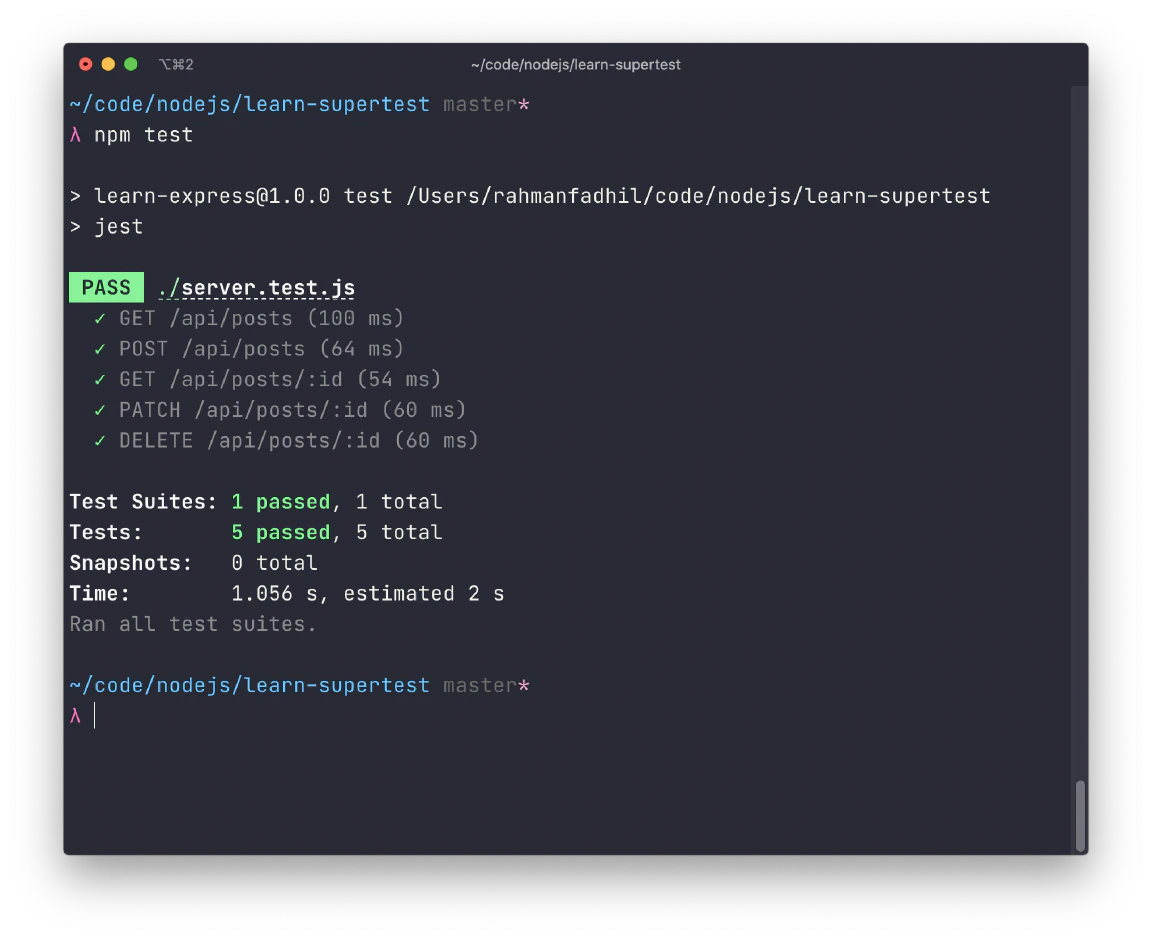
If you run the tests, you’ll see a nice green on your terminal that says you’re awesome 😎
