How to Build a Realtime Chat App with Node.js
In this tutorial, we are going to build a basic chat application with Node.js. Before we get started, I assume that you have little bit knowledge of JavaScript and Node.js.
Here, we will be using an awesome tool called Socket.io. If you don’t know what that is, basically it’s a JavaScript library that allows you to handle realtime data on front-end and back-end side. We also going to use Express which is by far the most popular Node.js framework for building web-based applications.
Getting Started
I have published this project on my GitHub so that you can follow along to build this cool app.
You can clone it into your computer by running this command below. Make sure that you have installed Git on your machine.
$ git clone https://github.com/rahmanfadhil/node-chat-app.git
This project also available on Glitch.
Server Setup
First, we need to initialize our package.json file and install express and socket.io.
$ npm init

$ npm install express socket.io
Second, create our index.js file, which contains our server code.
const express = require("express")
const socketio = require("socket.io")
const http = require("http")
Here, we import our express and socket.io package that we installed earlier using npm. We also import a Node.js Standard Library called http, which we don’t need to install it seperately with npm. We use this standard library to build our HTTP server.
const express = require("express")
const socketio = require("socket.io")
const http = require("http")

// New
const app = express()
const server = http.createServer(app)
const io = socketio(server)
Then, we need to create an instance of Express server, which we will use for routing and serving our static files. Then, we define a new HTTP server from http module, and pass our express instance as a handler. Finally, we initialize a new instance of socket.io and mount it to our HTTP server.
We also want to serve a bunch of static files for our front-end code. In this case, we can use a middleware inside our Express app to serve files inside a directory.
const express = require("express")
const socketio = require("socket.io")
const http = require("http")

const app = express()
const server = http.createServer(app)
const io = socketio(server)

// New
app.use("/", express.static(__dirname + "/public"))
Here, we define a new Express middleware with the use method. Then, we specify the endpoint where we want to run this middleware, which in this case is our homepage route (/). Then, we call the express.static method and pass the directory path. In this case, we want our front-end code lives in the /public folder.
To test if our Express really serve our static files, we can build our front-end HTML template inside our /public folder.
<!DOCTYPE html>
<html lang="en">
	<head>
		<meta charset="UTF-8" />
		<title>Node Chat App</title>
	</head>
	<body>
		<h1>Node Chat App</h1>
	</body>
</html>
Finally, we can start our HTTP server by calling the listen method, and define the port number.
const express = require("express")
const socketio = require("socket.io")
const http = require("http")

const app = express()
const server = http.createServer(app)
const io = socketio(server)

app.use("/", express.static(__dirname + "/public"))

// New
server.listen(3000)
Now, you can try to run your Node.js server by running node index.js on your terminal.
$ node index.js
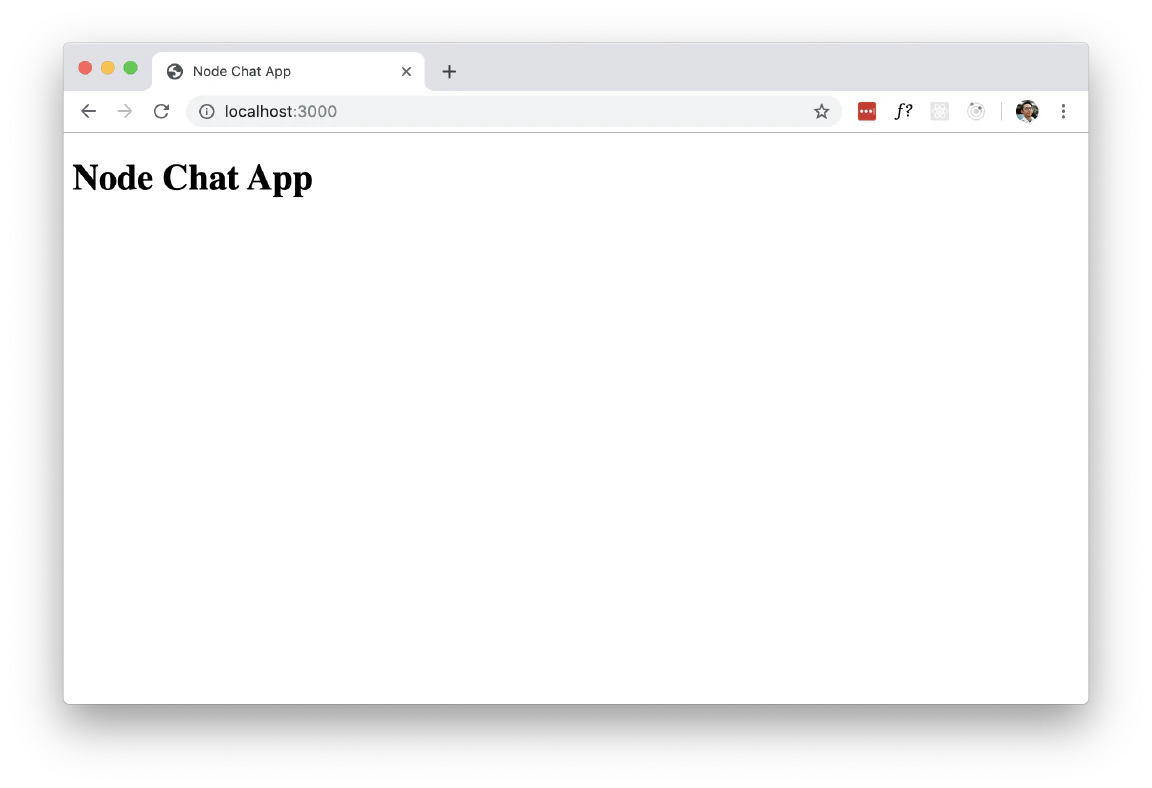
Go to http://localhost:3000 and we will see our index.html page.
Client Setup
Right now we have our server up and running, the next step is to write our front-/end code. It’s going to be a basic HTML and vanilla JavaScript for the sake of simplicity.
<!DOCTYPE html>
<html lang="en">
	<head>
		<meta charset="UTF-8" />
		<title>Node Chat App</title>
	</head>
	<body>
		<h1>Node Chat App</h1>

		<ul id="chatbox"></ul>

		<script src="https://cdnjs.cloudflare.com/ajax/libs/socket.io/2.2.0/socket.io.js"></script>
		<script src="./client.js"></script>
	</body>
</html>
Here we have a simple HTML5 boilerplate. We have a heading element that doesn’t do anything, and a list element with an id of chatbox, which we will use to display our chat messages in realtime.
Then, we specify two JavaScript files with script tag here. The first one is the Socket.io client side library, which we will use to listen to our realtime messages from our server. The second one is our own JavaScript code which we are about to make.
const socket = io.connect("http://localhost:3000")
First, we need to create a WebSocket connection with our Socket.io library. We can do this by calling the connect method and pass our server url as the argument.
Since our front-end and the back-end url is the same (at
localhostport 3000), We can just runconnectmethod without any arguments. But, passing the url makes our code more sense an readable.
Then, we can go back to our server (index.js) and listen to every new connection.
const express = require("express")
const socketio = require("socket.io")
const http = require("http")

const app = express()
const server = http.createServer(app)
const io = socketio(server)

app.use("/", express.static(__dirname + "/public"))

server.listen(3000)

// New
io.on("connection", () => {
	console.log("There is a new connection!")
})
Here, we define a new event listener for our Socket.io, and print something to the console everytime the connection event triggered.
Now, everytime a user open our page, we can see the output in our server console.
$ node index.js
There is a new connection!
Listen to Realtime Data
We have our server and client setup for Socket.io. Now it’s time to work with the realtime data. The main idea of Socket.io is you can send and listen to any events. An event can contains data. Any objects that can be encoded as JSON will works. Let me give you an example.
const express = require("express")
const socketio = require("socket.io")
const http = require("http")

const app = express()
const server = http.createServer(app)
const io = socketio(server)

app.use("/", express.static(__dirname + "/public"))

server.listen(3000)

io.on("connection", () => {
	console.log("There is a new connection!")
})

// New
setInverval(() => {
	io.emit("message", "Hello, this is a chat message!")
}, 3000)
Here, we create a JavaScript interval that emit a message event in every three seconds. The event we triggered contains a string that holds our chat message.
Then, in the front-end, we can listen to every incoming message in the message event by adding an event listener into our Socket.io instance.
const socket = io.connect("http://localhost:3000")

socket.on("message", (message) => {
	console.log(`New message: ${message}`)
})
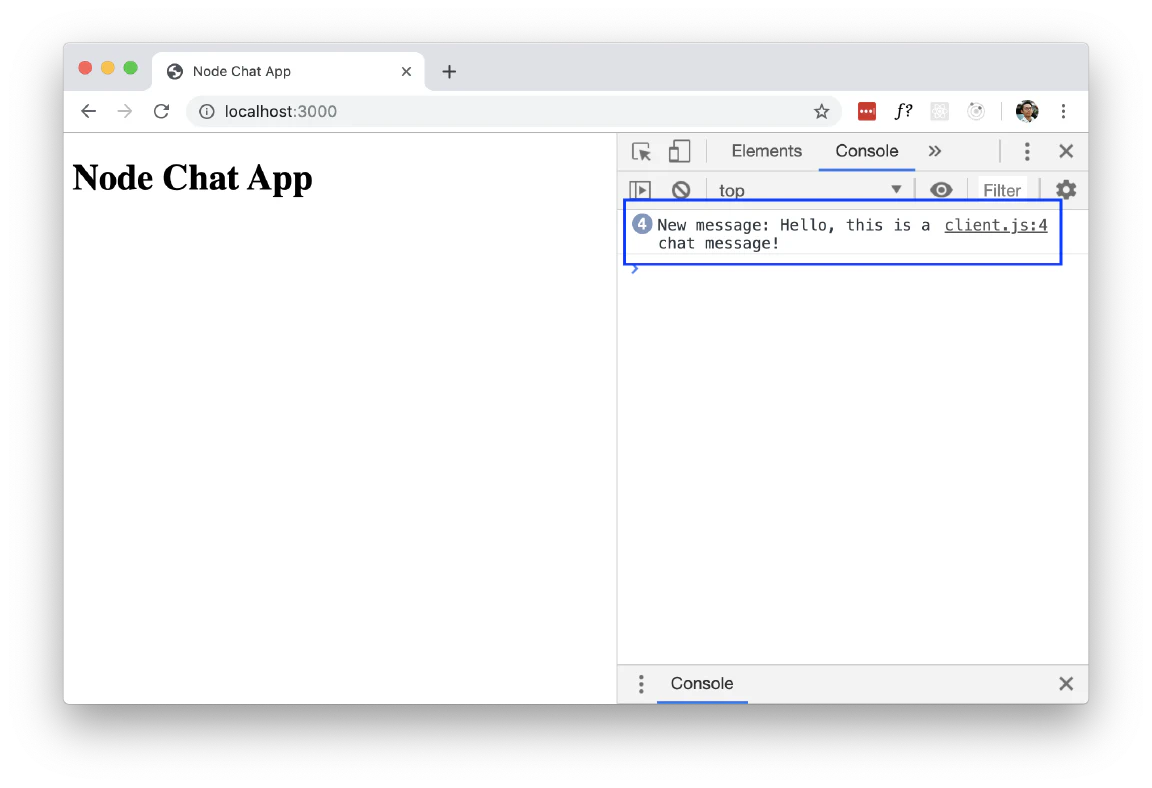
We can now try to run our server and open our app in the browser. Open your browser console, and you can see every three seconds our message is printed to the console.
Rather than printing the messages to the console, let’s try to display our messages to the screen inside our #chatbox element in our HTML template.
const socket = io.connect("http://localhost:3000")

const chatbox = document.getElementById("chatbox")

// New
socket.on("message", (message) => {
	const messageItem = document.createElement("li")
	messageItem.innerText = message
	chatbox.appendChild(messageItem)
})
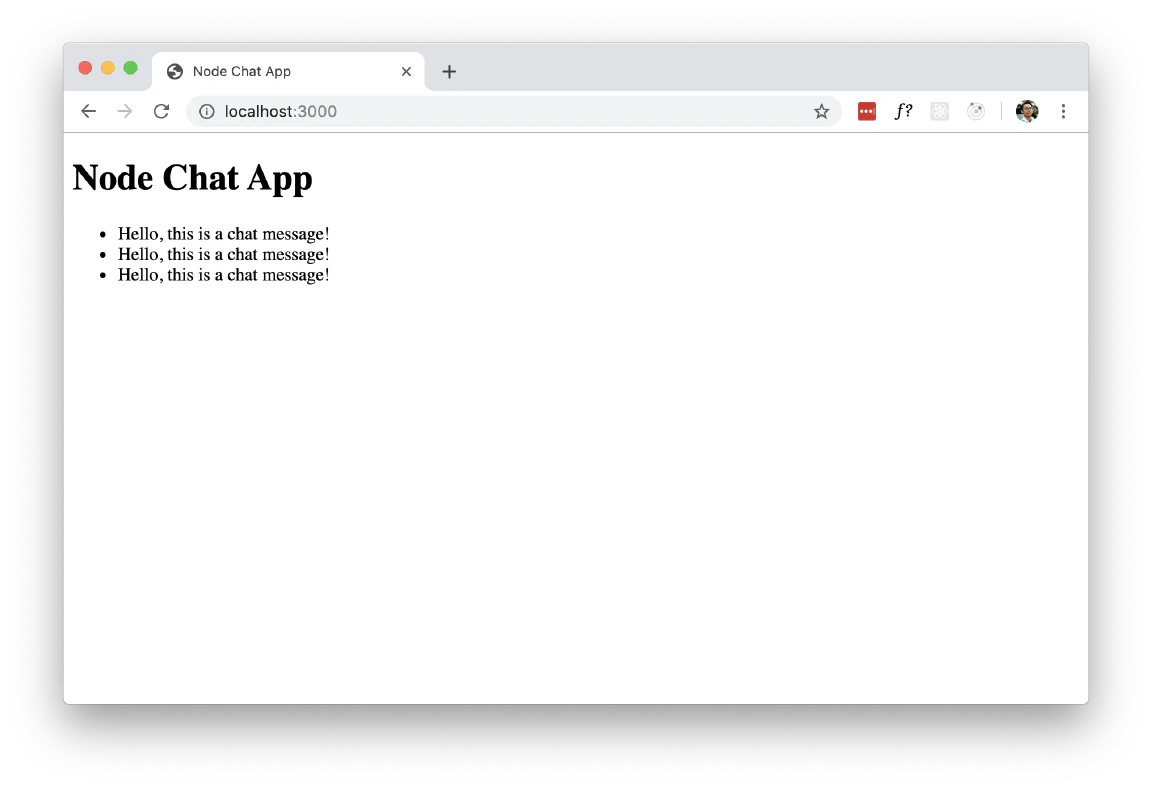
First, we need to grab our #chatbox list element from our HTML template. Then, everytime there is an incoming message, we create a new li element and put the message text inside it. Finally, we append our li element to our #chatbox element.
Reload your browser and you should see something like this.
Send Messages from Input
Now, we are successfully listen to a realtime data from our server. But actually, in this case we want to our user send the messages, not the server. So, what we can do is we can create a user input and let the user emit messages from our front-end.
First, we need to remove our interval, because from now on, the messages will come from the users, not the server.
const express = require("express")
const socketio = require("socket.io")
const http = require("http")

const app = express()
const server = http.createServer(app)
const io = socketio(server)

app.use("/", express.static(__dirname + "/public"))

server.listen(3000)

io.on("connection", () => {
	console.log("There is a new connection!")
})

// Remove this piece of code
setInverval(() => {
	io.emit("message", "Hello, this is a chat message!")
}, 3000)
Then, we can add some user inputs inside our index.html.
<!DOCTYPE html>
<html lang="en">
	<head>
		<meta charset="UTF-8" />
		<title>Node Chat App</title>
	</head>
	<body>
		<h1>Node Chat App</h1>

		<!-- New -->
		<input type="text" placeholder="Your message" id="message-input" />
		<button id="send-button">Send</button>

		<ul id="chatbox"></ul>

		<script src="https://cdnjs.cloudflare.com/ajax/libs/socket.io/2.2.0/socket.io.js"></script>
		<script src="./client.js"></script>
	</body>
</html>
Here, we have an input element, where the users type in their messages, and a button to send it to our server.
Now, let’s work on our JavaScript code.
const socket = io.connect("http://localhost:3000")

const chatbox = document.getElementById("chatbox")
const messageInput = document.getElementById("message-input")
const sendButton = document.getElementById("send-button")

// New
socket.on("message", (message) => {
	const messageItem = document.createElement("li")
	messageItem.innerText = message
	chatbox.appendChild(messageItem)
})

// New
sendButton.addEventListener("click", () => {
	const message = messageInput.value
	socket.emit("message", message)
})
First, we grab our text input and send button elements. Then, we listen to a click event on our send button. Whenever our send button is clicked, we get our user message inside our message input value, and send the message to the rest of the world with emit method.
Just like the server, the emit method requires two argument, which is our channel name and the data. We send our message through the message channel, and the data is obviously our user message.
Finally, in our server, we can listen to any new messages that our users sent, and broadcast it to the the other user.
const express = require("express")
const socketio = require("socket.io")
const http = require("http")

const app = express()
const server = http.createServer(app)
const io = socketio(server)

app.use("/", express.static(__dirname + "/public"))

server.listen(3000)

// New
io.on("connection", (socket) => {
	socket.on("message", (message) => {
		io.emit("message", message)
	})
})
Persist Chat Messages
We have successfully build an MVP for a web based chat application! But there is one thing that is missing though. If you try to send messages to the chatroom and close the window, suddenly, all your chat messages disappeared. That happens because we didn’t store our chat messages anywhere in the world.
First, we can create a new variables called messages that act as our dummy database. This variable holds the messages that our users has sent as an array. Then, we will create a route in our server that returns the our messages variable content.
const express = require("express")
const socketio = require("socket.io")
const http = require("http")

const app = express()
const server = http.createServer(app)
const io = socketio(server)

const messages = ["Welcome to the chatroom!"] // New

app.get("/messages", (req, res) => res.send(messages)) // New
app.use("/", express.static(__dirname + "/public")) // New

server.listen(3000)

io.on("connection", (socket) => {
	socket.on("message", (message) => {
		messages.push(message)
		io.emit("message", message) // New
	})
})
Here, we create a new Express route with GET method that returns our messages variable, which contains a greeting message. Then, we every incoming message to our “database” with array push method.
Now, we have our server setup, let’s jump into our front-end.
In our client.js, we can fetch that data display it to our #chatbox element.
const socket = io.connect("http://localhost:3000")

const chatbox = document.getElementById("chatbox")
const messageInput = document.getElementById("message-input")
const sendButton = document.getElementById("send-button")

socket.on("message", (message) => {
	const messageItem = document.createElement("li")
	messageItem.innerText = message
	chatbox.appendChild(messageItem)
})

sendButton.addEventListener("click", () => {
	const message = messageInput.value
	socket.emit("message", message)
})

// New
window.onload = function () {
	fetch("http://localhost:3000/messages")
		.then((res) => res.json())
		.then((messages) => {
			messages.forEach((message) => {
				const messageItem = document.createElement("li")
				messageItem.innerText = message
				chatbox.appendChild(messageItem)
			})
		})
}
Here, we define a function inside window.onload variable. This function will be triggered automatically by the browser when our HTML document is successfully loaded. In that function, we create an HTTP request to our server with browser Fetch API and display our messages inside our #chatbox element.
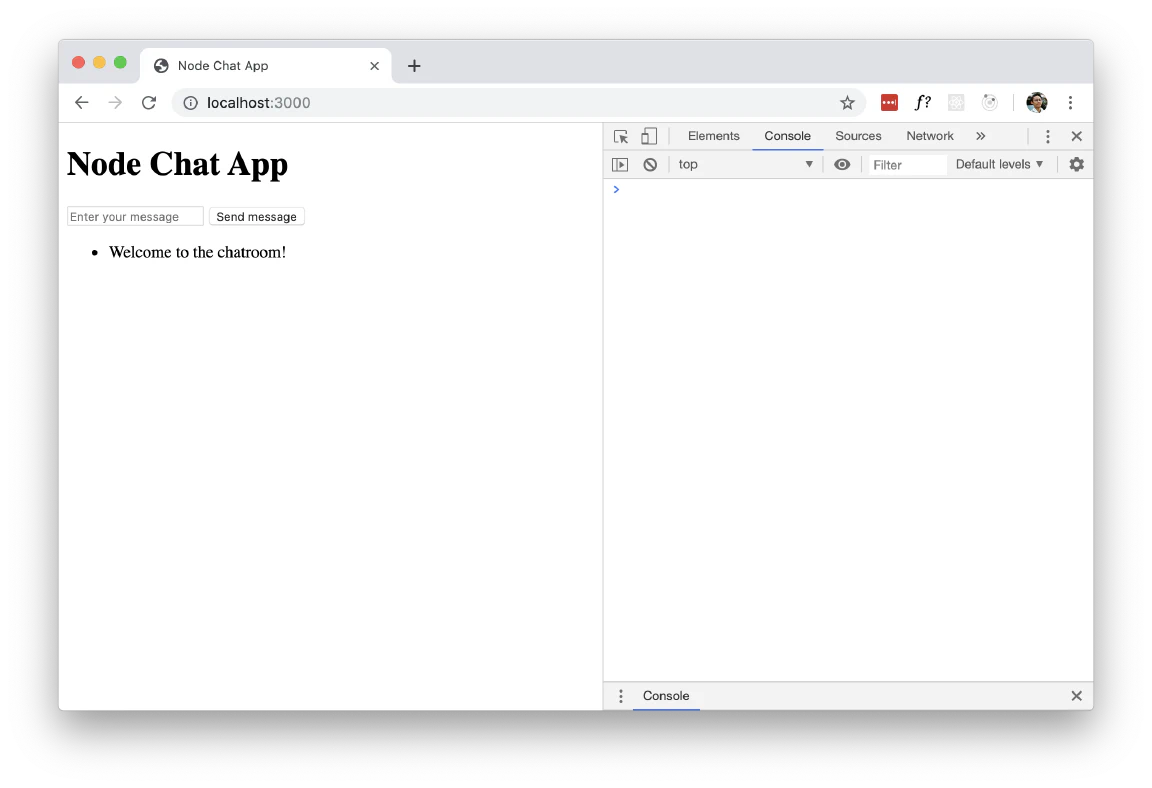
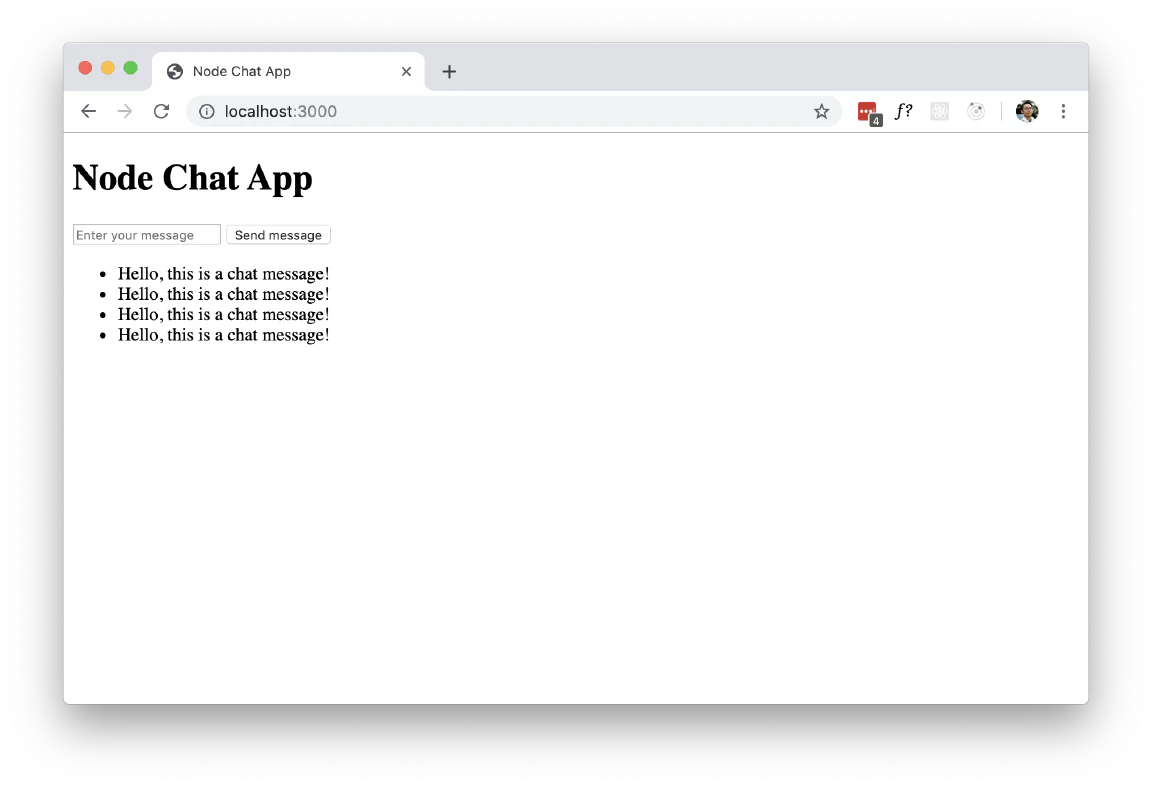
And here is our final result.
