How to Use Formik
Updated at August 22, 2020
Formik has just released the version 2.x, which is a major release that has some breaking changes in its API. It offers some additional features like checkboxes support, select multiple fields, and most importantly, React Hooks integration 🎉.
In this tutorial, we're going to learn how to use this awesome library that helps you to easily build your forms in React without tears 😭.
Getting Started
First, you need to have a React application. You can use an existing one, or create a new one with create-react-app by running this command.
$ npx create-react-app learn-formikWe also need to install Formik using npm.
$ npm install formikI have published the source code of this entire project on my GitHub. You can check it out here, or clone it into your computer with this command.
$ git clone https://github.com/rahmanfadhil/learn-formik.gitBasic Form
Let's say we want to have a contact form that asks the users their name, email, and message. We can create a new component called ContactForm in ContactForm.js.
import React from "react"

export default function ContactForm() {
	return (
		<form>
			<input name="name" type="text" placeholder="Your name" />
			<input name="email" type="text" placeholder="Your email" />
			<textarea name="message" placeholder="Your message" />
			<button type="submit">Send message</button>
		</form>
	)
}
In the ContactForm component, we have a simple form that has three inputs, as well as a submit button. Now, we can import this from our App component, so that we can see this form in our browser.
import React from "react"
import ContactForm from "./ContactForm"

export default function App() {
	return (
		<div>
			<ContactForm />
		</div>
	)
}
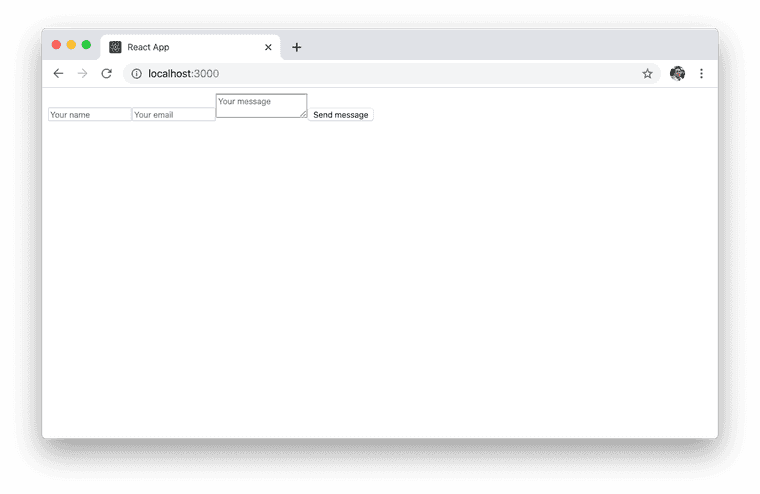
Now, run the server and you will see something like this.
Styling our form
Our form looks very ugly at the moment. Here, I have prepared a CSS snippet for you to make our form looks a little bit nicer.
form {
	display: flex;
	flex-direction: column;
	width: 400px;
	margin: 20px;
}

form input {
	width: 100%;
	padding: 16px;
	background-color: #edf2f7;
	border: none;
	margin-bottom: 16px;
	font-size: 14px;
	border: 2px solid #a0aec0;
	box-sizing: border-box;
}

form textarea {
	width: 100%;
	padding: 16px;
	background-color: #edf2f7;
	border: none;
	margin-bottom: 16px;
	font-size: 14px;
	border: 2px solid #a0aec0;
	box-sizing: border-box;
	height: 150px;
}

form button[type="submit"] {
	background-color: #48bb78;
	color: #ffffff;
	font-size: 14px;
	border: none;
	padding: 16px;
	width: 100%;
}
We can put it inside styles.css. Now, we need to import our styles into our application.
import React from "react"

import "./styles.css" // new
import ContactForm from "./ContactForm"

export default function App() {
	return (
		<div>
			<ContactForm />
		</div>
	)
}
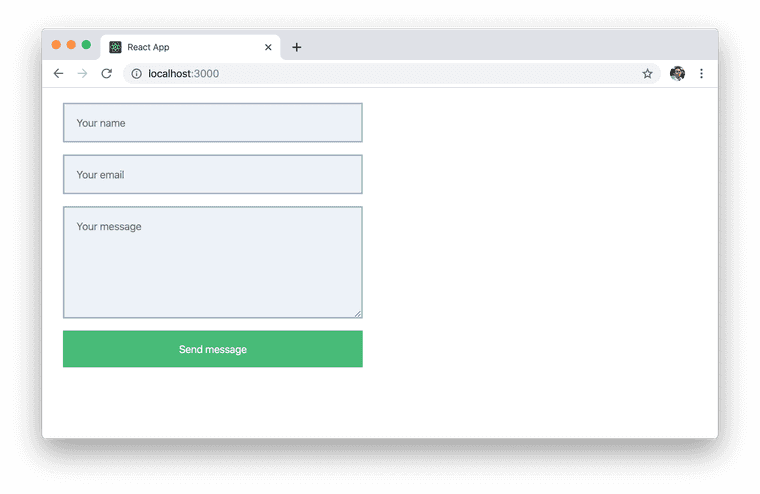
Now, our form should look like this.
Use Formik
At the moment, our form doesn't do anything yet. We can start using Formik to get our form values and programmatically do something with it.
import React from "react"
import { useFormik } from "formik" // new

export default function ContactForm() {
	const formik = useFormik({
		initialValues: {
			name: "",
			email: "",
			message: "",
		},
		onSubmit(values) {
			console.log(values)
		},
	})

	// ...
}
Here, we're importing useFormik React Hook to create a new Formik form. This is a new feature that released in version 2.x. A Formik form should have an initial values of our form fields, which we define in the initialValue parameter.
Then, we also got the onSubmit function. This function will be triggered whenever our form is submitted and successfully validated. For now, it just print out the value of each fields into our console.
Now, we need to integrate this formik instance into our UI.
// ...

export default function ContactForm() {
	const formik = useFormik({
		// ...
	})

	return (
		<form onSubmit={formik.handleSubmit}>
			<input
				name="name"
				type="text"
				placeholder="Your name"
				onChange={formik.handleChange}
				value={formik.values.name}
			/>
			<input
				name="email"
				type="text"
				placeholder="Your email"
				onChange={formik.handleChange}
				value={formik.values.email}
			/>
			<textarea
				name="message"
				placeholder="Your message"
				onChange={formik.handleChange}
				value={formik.values.message}
			/>
			<button type="submit">Send message</button>
		</form>
	)
}
First, we let the formik.handleSubmit function to handle of our form submission. Second, we need to hook up our formik.handleChange into every single input in our form, so that we can get those values when we submit the form. Finally, we provide the initial values to each form input.
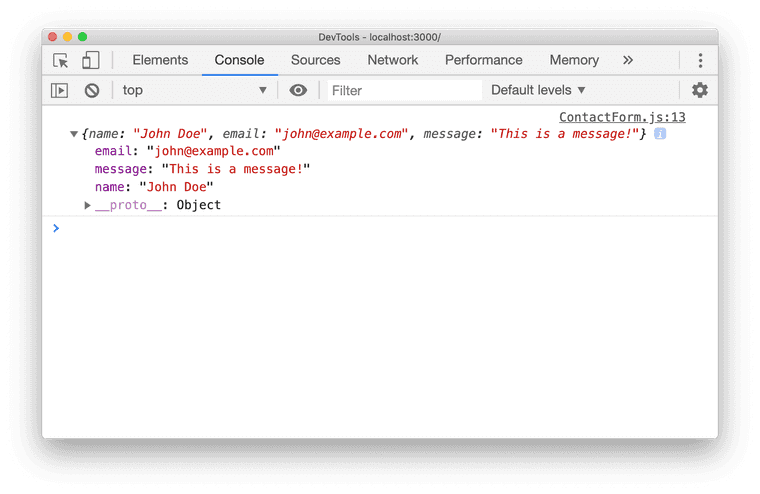
Now, if we fill this form and submit it, we can see that our data is printed out into our console.
Form Validation
There are to ways to validate our forms in Formik. We can either manually write our own validation function, or simply use Yup, a simple schema validation library for JavaScript. We will learn how we can use both approach in this section.
First, we need to add some styles in our styles.css to show the validation errors for our fields.
form .error {
	border: 2px solid #e53e3e;
}

form .errorText {
	color: #e53e3e;
	margin-bottom: 16px;
}
Now, we can try to create a new validation function manually in our useFormik hook.
const formik = useFormik({
	initialValues: {
		name: "",
		email: "",
		message: "",
	},
	validate(values) {
		const errors = {}

		if (!values.email) {
			errors.email = "Email field is required!"
		} else if (
			!/^[A-Z0-9._%+-]+@[A-Z0-9.-]+\.[A-Z]{2,4}$/i.test(values.email)
		) {
			errors.email = "Email must be valid!"
		}

		// More validations here

		return errors
	},
	onSubmit(values) {
		console.log(values)
	},
})
The validate function gets a single parameter that holds our form data, which is an object that contains the values of our field. We can check those values by using an if/else statement to prevent the user to submit neither empty nor invalid email.
We also want to display every single validation errors on each fields, so that the user knows what went wrong.
// ...

export default function ContactForm() {
	// ...

	return (
		<form onSubmit={formik.handleSubmit}>
			<input
				type="text"
				name="name"
				placeholder="Your name"
				className={formik.errors.name ? "error" : null}
				onChange={formik.handleChange}
				value={formik.values.name}
			/>
			{formik.errors.name ? (
				<span className="errorText">{formik.errors.name}</span>
			) : null}
			<input
				type="text"
				name="email"
				placeholder="Your email"
				className={formik.errors.email ? "error" : null}
				onChange={formik.handleChange}
				value={formik.values.email}
			/>
			{formik.errors.email ? (
				<span className="errorText">{formik.errors.email}</span>
			) : null}
			<textarea
				name="message"
				placeholder="Your message"
				className={formik.errors.message ? "error" : null}
				onChange={formik.handleChange}
				value={formik.values.message}
			/>
			{formik.errors.message ? (
				<span className="errorText">{formik.errors.message}</span>
			) : null}
			<button type="submit">Send message</button>
		</form>
	)
}
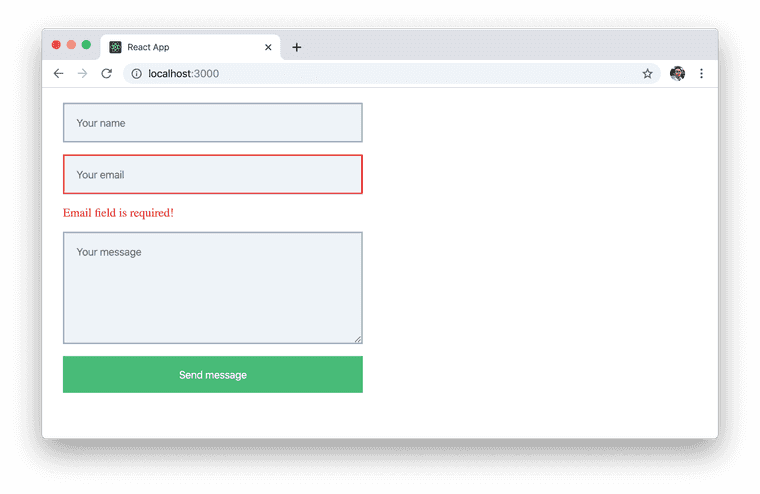
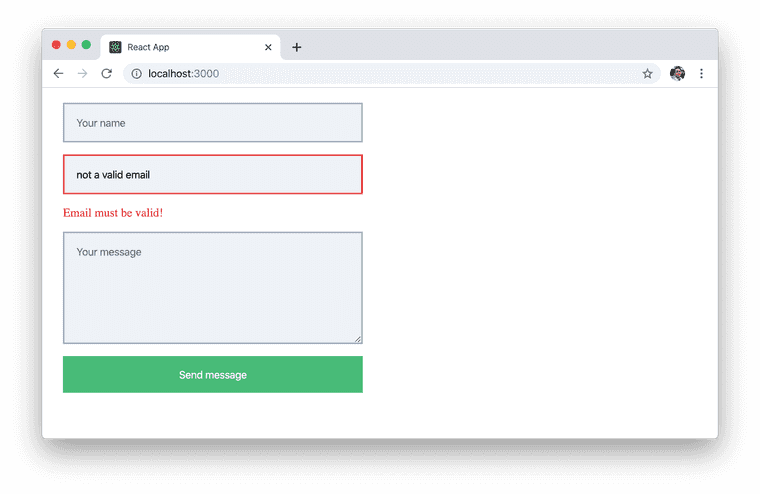
Now, if we try to submit an invalid email, we can see an error that looks like this.
This approach seems a bit verbose. If we have tons of fields in our form, this is not a good idea, because we're repeating the same code over and over again to do the same thing.
But with Yup, we can create a validation by simply using their built-in validator.
First, install Yup!
$ npm install yupThen, define a Yup schema in the validationSchema property.
const formik = useFormik({
	initialValues: {
		name: "",
		email: "",
		message: "",
	},
	validationSchema: Yup.object({
		name: Yup.string().required(),
		email: Yup.string().email().required(),
		message: Yup.string().required(),
	}),
	onSubmit(values) {
		console.log(values)
	},
})
There are a lot more built-in validators provided by Yup, you can read more about it right here.
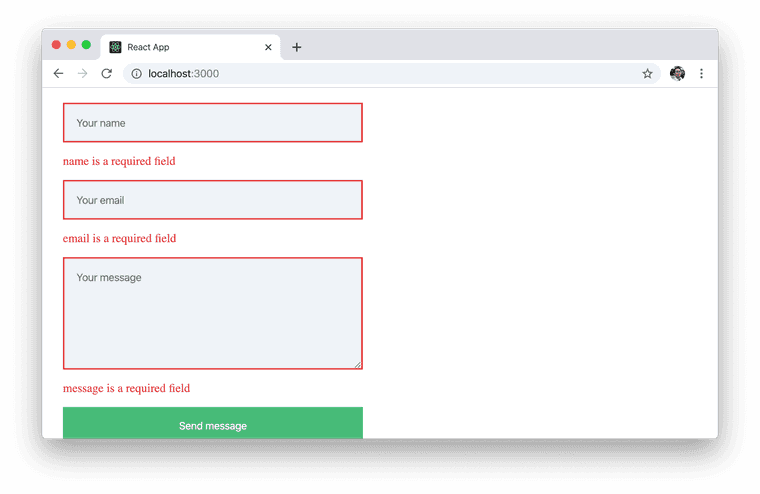
Now, with all this setup, we have a fully functioning contact form with validation.

Abdurrahman Fadhil
I'm a software engineer specialized in iOS and full-stack web development. If you have a project in mind, feel free to contact me and start the conversation.
